iPhone 5 Battery Replacement
Remove the battery from your iPhone 5
- Author: Optimus Goldberg
- Time required: 10 to 15 minutes
- Difficulty: Moderate
Edit
Step 1 — Front Panel Assembly
- Before disassembling your iPhone, be sure it is powered off.
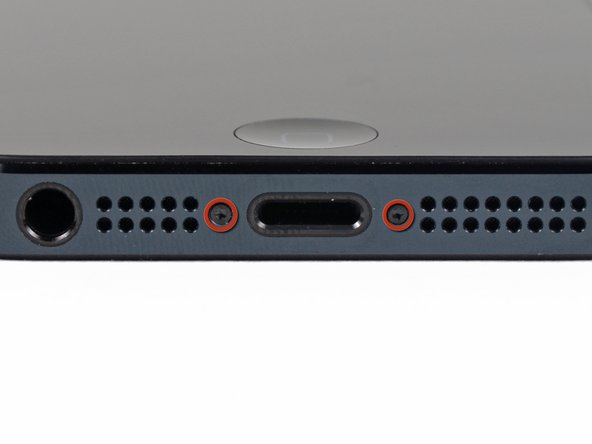
- Remove the two 3.6 mm Pentalobe screws next to the Lightning connector.
Edit
Step 2
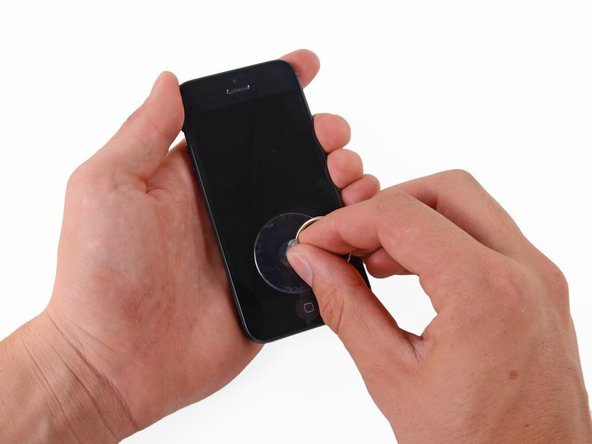
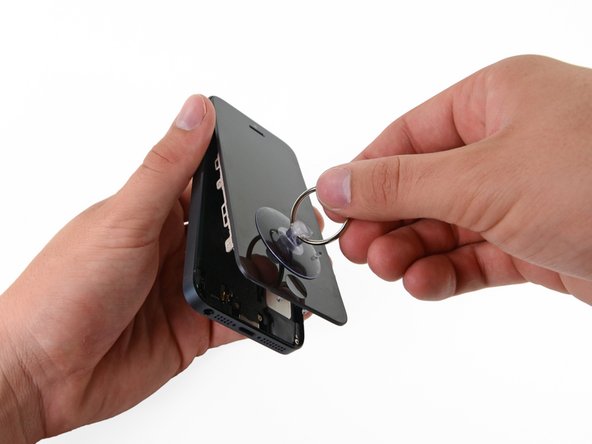
- Press a suction cup onto the screen, just above the home button.
- Be sure the cup is completely on the screen to get a tight seal.
Edit
Step 3
- Make sure the suction cup is firmly attached to the front panel assembly.
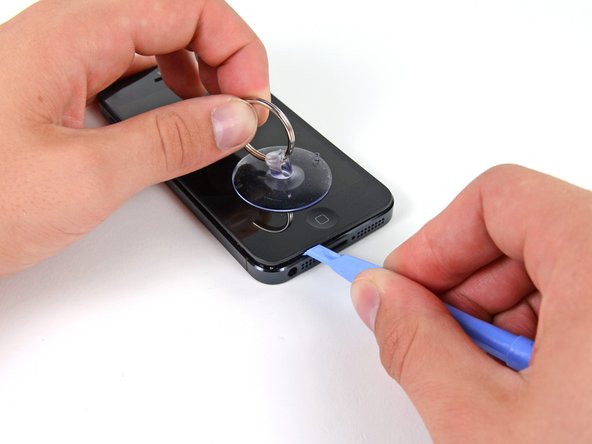
- While holding the iPhone down with one hand, pull up on the suction cup to slightly separate the front panel assembly from the rear case.
- Take your time and apply firm, constant force. The display assembly is a much tighter fit than most devices.
- With a plastic opening tool, begin to gently pry the rear case down, away from the display assembly, while you pull up with the suction cup.
- There are several clips attaching the front panel assembly to the rear case, so you may need to use a combination of the suction cup and plastic opening tool to free the front panel assembly.
Edit
Step 4
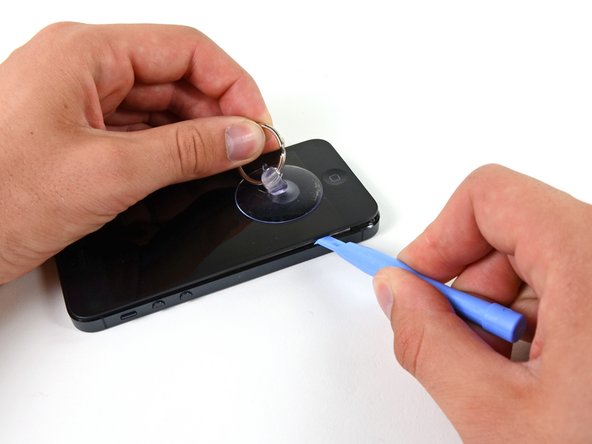
- Continue to pry up around the sides of the front panel assembly, detaching the clips along the left and right side.


Edit
Step 5
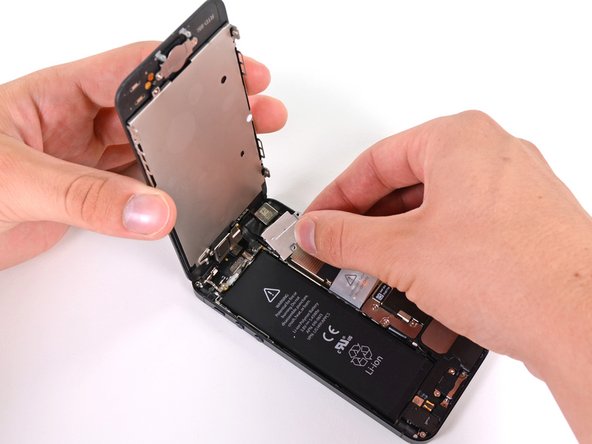
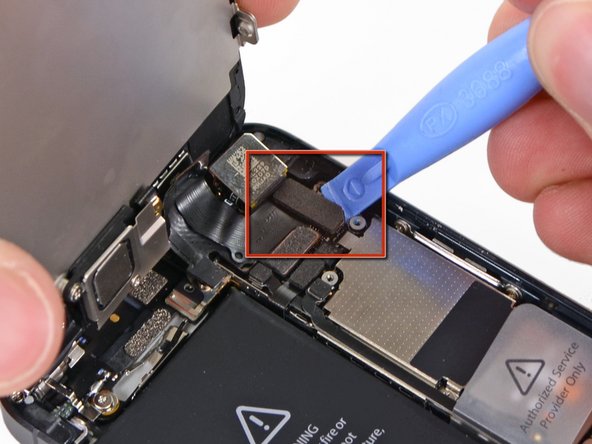
- Do not try to completely remove the front panel assembly from the rear case, as there are several ribbon cables still attached at the top of the iPhone.
- Once the clips have been released on the bottom and sides of the front panel assembly, pull the bottom of the assembly away from the rear case.
- Lift the front panel assembly slowly up to about 90 degrees from the rear case.
Edit
Step 6
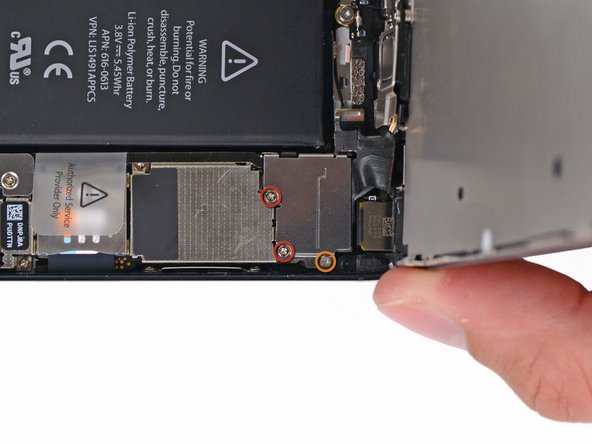
- Remove the following screws securing the front panel assembly cable bracket to the logic board:
- Two 1.2 mm Phillips screws
- One 1.6 mm Phillips screw





Very informative and well written post! Quite interesting and nice topic chosen for the post.
ReplyDeleteLenovo - Refurbished - 14" ThinkPad Notebook - 8 GB Memory - 320 GB Hard Drive
Lenovo - Refurbished - 14" ThinkPad Notebook - 8 GB Memory - 160 GB Hard Drive